Tire Maintenance Checklist: Safer Drives, Longer Tread
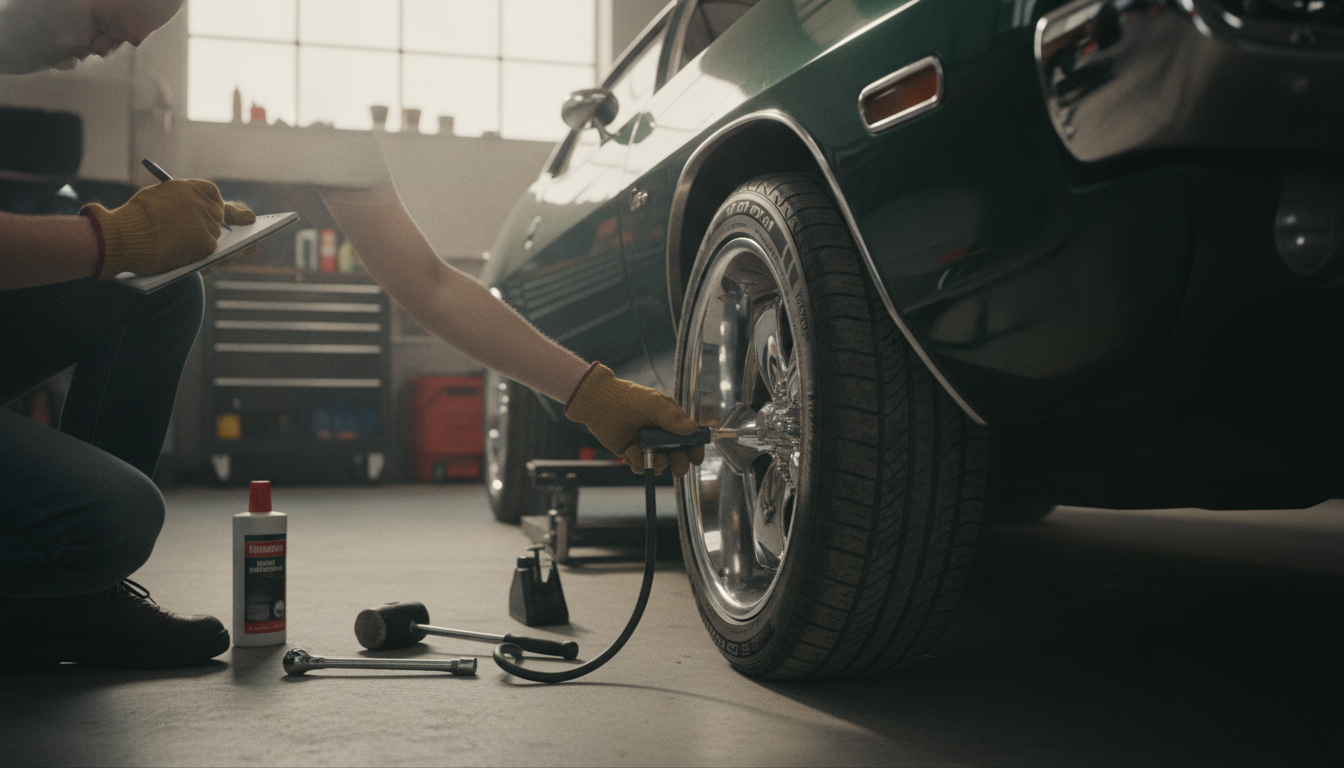
Tire Maintenance Checklist for Safer Driving and Longer Tire Life
A consistent tire routine improves braking, handling, fuel economy, and overall vehicle stability. When tires are properly inflated, evenly worn, and free from damage, the car responds more predictably—especially during sudden stops, heavy rain, or quick lane changes. The checklist below breaks tire care into fast weekly scans, monthly measurements, and seasonal tasks, plus clear warning signs that mean it’s time to service or replace your tires.
Why a Simple Tire Routine Matters
- Keeps traction and braking performance predictable in dry and wet conditions
- Helps prevent uneven wear that shortens tread life and increases road noise
- Reduces blowout risk by catching low pressure, damage, and overheating early
- Supports better fuel economy by maintaining proper rolling resistance
- Improves ride comfort and steering feel by keeping tires balanced and aligned
If you want a deeper safety overview, the NHTSA Tire Safety page is a solid reference for basics like tread depth and pressure checks.
What to Keep in the Glovebox or Garage
- Accurate tire pressure gauge (digital or dial)
- Portable inflator or access to a reliable air source
- Tread depth gauge (or a simple measuring tool)
- Flashlight and work gloves for quick inspections
- Torque wrench for wheel installation checks after service
- Valve stem caps and a small bottle of soapy water for leak checks
For a simple way to track readings and service dates, keep a copy of the Tire Maintenance Checklist digital download on your phone so you can log pressure and tread depth on the spot.
Weekly Quick Check (2–3 Minutes)
- Walk-around scan: look for visibly low tires, bulges, sidewall bubbles, and nails or screws
- Check for new vibrations, pulling, or steering wheel shimmy during the first few minutes of driving
- Listen for rhythmic thumping that could indicate a flat spot, separated belt, or internal damage
- Confirm valve caps are present to help keep dirt and moisture out of the valve core
| Task | What to look for | Action if found |
|---|---|---|
| Visual pressure check | One tire looks lower than the others | Measure pressure cold; inflate to door-jamb spec |
| Sidewall scan | Bulges, bubbles, deep cuts, exposed cords | Avoid high-speed driving; inspect immediately at a shop |
| Tread scan | Stones/debris, embedded objects | Remove small debris; leave embedded metal and get inspected |
| Drive feel | Pulling, vibration, wobble | Check pressure; schedule balance/alignment inspection |
Monthly Measurement Routine (The Big Three)
- Set cold pressure using the vehicle’s door-jamb placard (not the tire sidewall maximum)
- Measure tread depth across at least 3 points per tire (inner/middle/outer) to spot alignment or inflation issues
- Inspect wear patterns: center wear suggests overinflation; edge wear suggests underinflation; one-sided wear suggests alignment or suspension issues
- Check valve stems for cracking or dry rot and confirm no slow leaks around the bead and valve core
- Review the TPMS warning light behavior; persistent alerts require pressure verification and potential sensor service
Tip for consistency: check pressure when the tires are “cold,” meaning the car has been parked for a few hours (or driven less than a mile at low speed). A warmed-up tire can read higher and hide an actual low-pressure issue.
Rotation, Balancing, and Alignment: A Practical Schedule
- Rotate tires at the interval recommended in the owner’s manual (often every 5,000–8,000 miles) to equalize wear
- Use the correct rotation pattern for the vehicle and tire type (directional, staggered, or asymmetric setups may limit options)
- Balance tires when installing new tires, after puncture repairs, or if vibration appears at specific speeds
- Get an alignment check after hitting a major pothole/curb, after suspension work, or if wear becomes one-sided
- Re-torque lug nuts after wheel service per the shop’s guidance and the vehicle manual’s torque spec
If you’re unsure which rotation pattern applies, a tire retailer’s technical guidance can help; Tire Rack’s Tire Tech library is a helpful explainer for directional and asymmetric tires.
Seasonal and Long-Trip Tire Prep
When a Tire Needs Immediate Attention
Repair vs. Replace: Quick Decision Rules
AAA also offers practical guidance on day-to-day maintenance, including pressure and wear checks: AAA Guide to Tire Safety and Maintenance.
Printable/Digital Checklist for Ongoing Tracking
Helpful items to keep your routine easy
- Tire Maintenance Checklist | Essential Tire Maintenance Tips Guide for Car Owners, Vehicle Safety & Longevity Digital Download
- Cordless Vacuum Cleaner, 235W Brushless Motor, 40Min Runtime, 6-in-1 Lightweight for Household Cleaning (useful for cleaning out the trunk/garage area where you store gauges, inflators, and tire supplies)
FAQ
How often should tire pressure be checked?
Check cold tire pressure at least once a month, plus do a quick weekly walk-around to spot a low tire early. Recheck any time temperatures swing significantly and always before long highway trips.
What tread depth is considered unsafe?
The legal minimum is low enough that wet traction can already be compromised, so many drivers replace earlier for better rain (and especially snow) performance. Use a tread depth gauge and consider replacement if traction is noticeably worse or readings are approaching the minimum.
Can a nail in the tread be repaired or does the tire need replacement?
A nail in the tread area is often repairable if it’s not too large and the tire’s internal structure isn’t damaged. Punctures near the shoulder/sidewall and any sidewall damage typically require replacement, so a professional inspection is the safest call.










Leave a comment