-
Shop
- Advanced Technologies
- AI Skills for Creators & Freelancers
- AI Client Management
- AI Ethics
- AI Mindset
- AI Tools & Prompts
- AI Writing & Content Creation
- Audio, Voice & Music
- Design & Visual Creation
- Email, Messaging & Communication
- Freelancing & Business
- Marketing, Ads & Conversion
- Productivity, Workflow & Automation
- SEO & Search Optimization
- Social Media Content & Growth
- Strategy, Planning & Analytics
- Video Creation & Editing
- AI Skills Mastery 2026 Collection
- Bathroom
- Best Sellers
- Car Accessories
- Dating & Social Skills
- Digital Resources
- Dresses
- Education & Learning
- Family & Parenting
- Fashion
- Fashion & Style
- Fitness
- Furniture
- Gadgets
- Health & Beauty
- Health & Wellness
- Home & Garden
- Home & Kitchen
- Home Electronics
- Kids & Babies
- Kitchen
- Lighting
- Parenting
- Patio, Lawn & Garden
- Personal Growth
- Pet Care
- Pet Lifestyle & Wellness
- Pet Supplies
- Pets
- Sport & Outdoors
- Swimwear
- Tops
- Travel
- Wealth
Manual Wire Stripping Machine Guide for Clean Copper
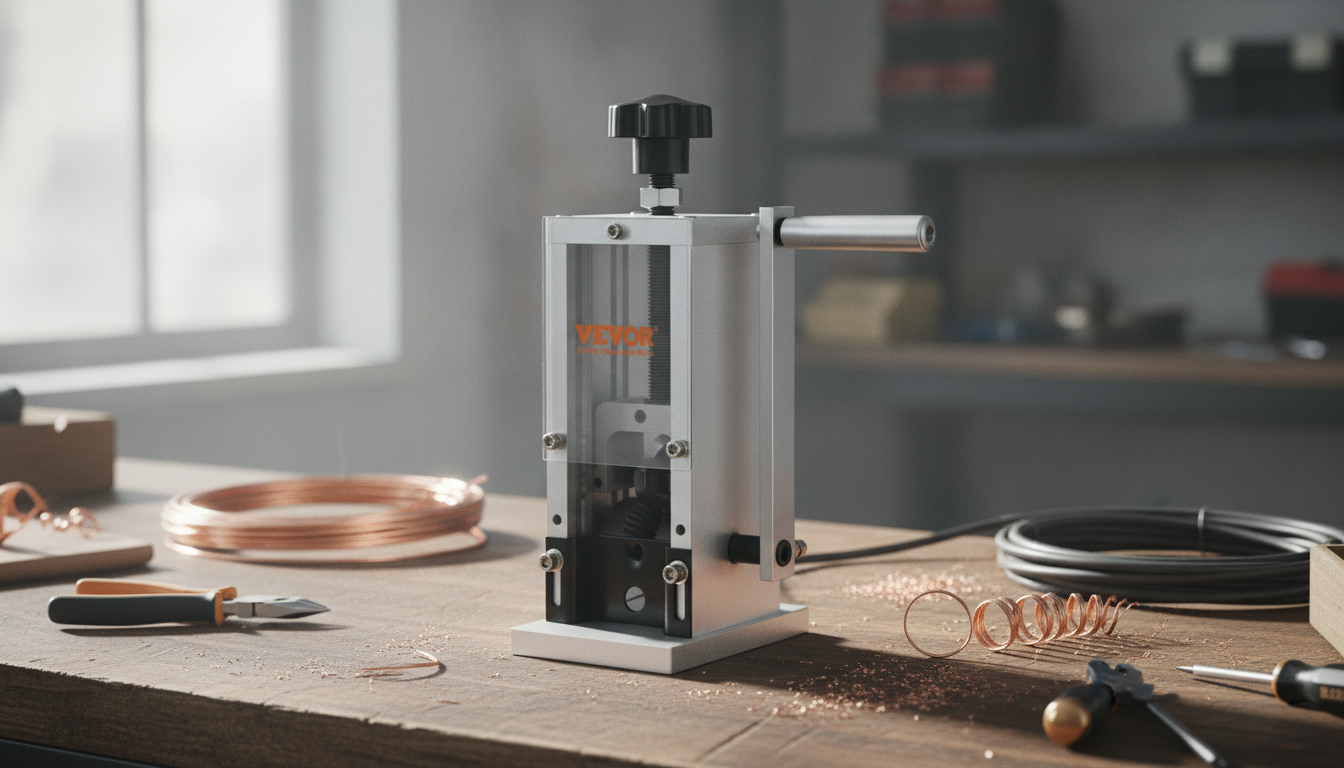
Manual Wire Stripping Machine: Cleaner Copper Recovery With Simple, Hand-Powered Control
A manual wire stripping machine removes insulation from electrical wire using an adjustable blade and feed channel, helping produce clean conductor material with less mess than knives or improvised tools. With steady, hand-powered control, it’s a practical way to prep scrap, streamline small projects, and keep your workspace more consistent from one pull to the next.
What a Manual Wire Stripping Machine Does
A manual wire stripping machine separates insulation from copper or aluminum conductors by guiding wire through a channel and past a cutting blade. Instead of freehand cutting, the machine keeps the wire aligned, so the cut tracks straighter and is easier to repeat across multiple pieces.
- Separates insulation from copper or aluminum by pulling wire through a guided channel past a blade.
- Reduces hand strain and improves consistency compared with utility knives during repeated stripping.
- Useful for scrap preparation, small electrical projects, automotive wiring work, and general workshop cleanup.
- Best for straight runs of wire; short offcuts or very flexible strands may require extra handling or a different method.
Why Manual (Hand-Powered) Can Be the Right Choice
Hand-powered machines are often the simplest way to upgrade your stripping process without adding complexity. They’re also easy to deploy in places where power access is limited or unreliable.
- No electricity required, making it convenient for garages, job sites, and mobile setups.
- Direct feel and control over feed speed, helping prevent conductor nicking on delicate wire.
- Lower ongoing maintenance than motorized units (no drive belts, motors, or power switches).
- Typically quieter and easier to store than powered machines.
Key Parts and How They Work Together
Clean stripping is mostly about alignment and blade depth. When the channel fits the wire and the blade is set correctly, the jacket splits with minimal effort and the conductor stays intact.
- Feed channel(s): Guides wire straight so the cut stays centered.
- Adjustable blade depth: Controls how deeply insulation is scored or sliced.
- Drive method: Hand crank or pull-through design advances wire steadily.
- Frame and mounting: A stable base reduces chatter and uneven cutting; bench mounting can improve repeatability.
- Output handling: A bin or tray helps keep insulation scraps contained.
| Component | Purpose | Adjustment to check before stripping |
|---|---|---|
| Feed channel/slot | Keeps wire aligned | Choose the closest-fitting channel that doesn’t bind |
| Blade | Scores/cuts insulation | Set depth to cut insulation without nicking conductor |
| Tension/pressure point | Holds wire steady | Increase only enough to prevent slipping |
| Crank/drive | Moves wire past blade | Use smooth, consistent speed |
| Base/mounting holes | Improves stability | Clamp or bolt down for repeat work |
Choosing the Right Settings for Different Wire Types
Start conservative, then creep up in small increments. The goal is a clean split in the jacket with no scoring on the conductor.
- Solid wire: Begin with a shallower blade setting; solid conductors nick more easily and show damage sooner.
- Stranded wire: A slightly deeper cut may be needed for thicker jackets; inspect for strand damage after the first test pass.
- Soft insulation (PVC/rubber): Feed steadily to avoid stretching and tearing; a sharp blade matters more than extra depth.
- Tough jackets (some outdoor/industrial cables): Increase depth in steps and test on short lengths to avoid “overshooting” into the metal.
- Flat or irregular cable: If the channel can’t support the profile, strip only after splitting to a round section or use an alternate method for that segment.
Setup and Use: A Repeatable Workflow
A consistent routine is what turns a manual stripper into a time saver. The biggest gains usually come from secure mounting and careful test cuts.
Safety Notes for Cutting and Handling Wire
For broader safety guidance, consult OSHA electrical safety resources and the workplace practices outlined in NFPA 70E.
Maintenance That Keeps Cuts Clean
Common Issues and Simple Fixes
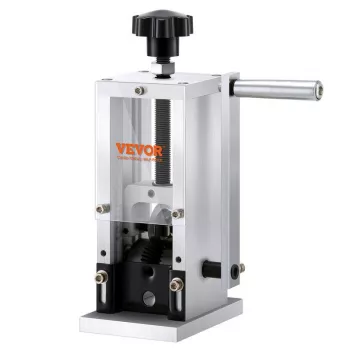
Product Spotlight: Manual Wire Stripping Machine
If you want simple, repeatable stripping without relying on electricity, the Manual Wire Stripping Machine is a straightforward, hand-powered option with adjustable cutting control. Pair it with a stable bench mount and a small bin or tray so stripped conductor and insulation stay separated as you work.
| Item | Details |
|---|---|
| Product | Manual Wire Stripping Machine |
| Price | 115.49 USD |
| Availability | In stock |
Helpful add-ons for a cleaner workspace
- 20Kpa Cordless Stick Vacuum Cleaner for Hard Floor, Carpet & Pet Hair, Rose Red
- Cordless Vacuum Cleaner, 235W Brushless Motor, 40Min Runtime, 6-in-1 Lightweight for Household Cleaning
FAQ
Can a manual wire stripping machine damage the conductor?
Yes—most damage comes from setting the blade too deep or feeding wire that’s off-center. Run a short test piece, adjust in small increments, and inspect for nicks, especially on solid wire and fine stranded conductors.
What wire types are hardest to strip with a manual machine?
Very soft or stretchy insulation, flat/irregular cable profiles that don’t sit well in the channel, and tough multi-layer jackets tend to be the most challenging. Straightening the wire, choosing the closest-fitting channel, and increasing blade depth gradually usually improves results.
Do you need to bolt the machine down?
Not always for light use, but clamping or bolting improves stability and keeps cuts consistent on long runs. A secure mount also reduces hand fatigue because you don’t have to fight the machine shifting during pulls.
Recommended for you
Was this article helpful?
Yes
No


Leave a comment