-
Shop
- Advanced Technologies
- AI Skills for Creators & Freelancers
- AI Client Management
- AI Ethics
- AI Mindset
- AI Tools & Prompts
- AI Writing & Content Creation
- Audio, Voice & Music
- Design & Visual Creation
- Email, Messaging & Communication
- Freelancing & Business
- Marketing, Ads & Conversion
- Productivity, Workflow & Automation
- SEO & Search Optimization
- Social Media Content & Growth
- Strategy, Planning & Analytics
- Video Creation & Editing
- AI Skills Mastery 2026 Collection
- Bathroom
- Best Sellers
- Car Accessories
- Dating & Social Skills
- Digital Resources
- Dresses
- Education & Learning
- Family & Parenting
- Fashion
- Fashion & Style
- Fitness
- Furniture
- Gadgets
- Health & Beauty
- Health & Wellness
- Home & Garden
- Home & Kitchen
- Home Electronics
- Kids & Babies
- Kitchen
- Lighting
- Parenting
- Patio, Lawn & Garden
- Personal Growth
- Pet Care
- Pet Lifestyle & Wellness
- Pet Supplies
- Pets
- Sport & Outdoors
- Swimwear
- Tops
- Travel
- Wealth
4K Camera Drone with 360° Gimbal: Smooth Aerial Video
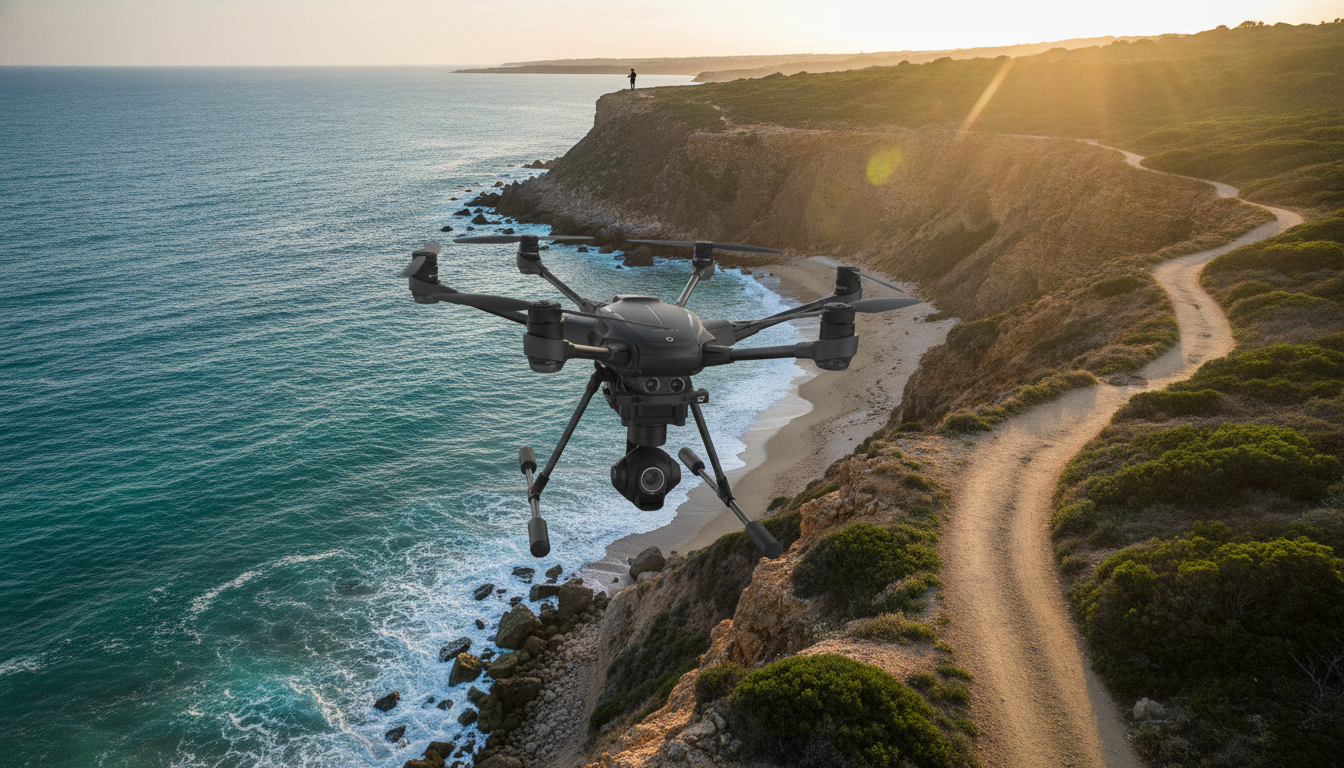
Professional 4K Camera Drone: Smooth 4K Capture with a 360° Gimbal
A professional camera drone should deliver stable, detailed footage while staying predictable in the air. A 4K quadcopter with a 360° gimbal and an up-to-20-minute flight time is built for controlled aerial shooting—smooth moves, steady framing, and fewer “restart the take” moments. Below is what this type of drone is designed to do, which features matter most once you’re outside with wind and changing light, and how to plan flights so you spend more time capturing usable clips.
What This Drone Is Built For
This category of quadcopter is made for camera-first flying—prioritizing stabilization and repeatable motion over aggressive, high-speed maneuvers. Typical use cases include:
- Aerial video and photo capture where stabilization matters more than speed bursts
- Orbit shots, reveals, and tracking-style moves that benefit from a multi-axis gimbal
- Real estate, travel, outdoor events, and scenic landscape footage when flown legally and safely
- Pre-planned, repeatable flight paths that prioritize consistent framing over aggressive maneuvers
If the goal is smooth, watchable footage, the flight plan matters as much as the camera specs: pick a subject, define a path, and fly it slowly enough that the gimbal can do its job.
4K Ultra HD Video: What to Expect in Practice
4K resolution can look impressive, but the biggest advantage is flexibility. When the drone holds a stable frame, 4K helps preserve fine detail and gives more room for edits without the shot falling apart.
- 4K resolution helps preserve detail for cropping, stabilization in post, and sharper still frames pulled from video
- Best results come from steady yaw movements and slower forward motion; fast turns can reduce perceived sharpness
- Lighting has a bigger impact than resolution—midday glare and low-light noise can affect clarity
- Plan shots with a subject, foreground, and background layers to make 4K detail feel more cinematic
A simple way to “upgrade” 4K footage is to slow everything down: smoother inputs, wider turns, and measured camera movements tend to look more expensive than fast passes and snap-rotations.
360° Gimbal: Why Stabilization Changes Everything
A gimbal is the difference between footage that feels like a novelty and footage that’s actually comfortable to watch. With 360° gimbal movement, you can adjust framing more creatively without relying on rotating the entire aircraft for every change in composition.
- A gimbal is the difference between “drone footage” and smooth, watchable video
- 360° gimbal movement supports creative framing without forcing the aircraft to rotate as much
- Smoother footage often comes from gentle stick inputs and avoiding sudden altitude changes
- Before takeoff: confirm the gimbal is free of obstructions, calibrated if required, and level on a flat surface
For cleaner results, treat the gimbal like a tripod head: move it deliberately, not constantly. If a shot needs a tilt, do one slow tilt—then hold the angle and let the scene play out.
20-Min Flight Time: Planning Shots Around Battery Reality
Up-to-20-minute flight time is a useful benchmark, but it’s not a promise of 20 minutes of continuous filming in the wind. Temperature, gusts, and frequent acceleration all shorten runtime.
- Quoted flight time is typically measured under controlled conditions; real-world time can be shorter due to wind, temperature, and aggressive inputs
- For predictable returns, treat 20 minutes as a ceiling and plan to land with a safety buffer
- Break filming into short “takes”: takeoff → capture a specific set of shots → return and land, rather than flying continuously
- Cold weather can reduce battery performance; warm batteries to a safe, normal operating temperature before flight
Quick Flight Planning Checklist (20-Min Class Drone)
| Phase | Goal | Practical Tip |
|---|---|---|
| Pre-flight (2–5 min) | Confirm control, GPS/compass status, and camera readiness | Check props, gimbal movement, and set return-to-home altitude if available |
| Takeoff & hover (1–2 min) | Stability check before filming | Hover at a safe height; verify smooth gimbal tilt and yaw response |
| Shot block (8–12 min) | Capture planned angles efficiently | Film wide establishing shots first, then closer passes to reduce repositioning |
| Return & landing (3–5 min) | Land with margin | Start return early; avoid pushing battery to the last minute |
Control, Range, and Video Link Considerations
Range and live video reliability depend heavily on the environment. Trees, buildings, and interference can cut performance quickly, even if the drone is technically within range.
Also keep regulatory requirements in mind for the control link and operation. For more background, the FCC’s equipment authorization overview is a helpful reference: Federal Communications Commission (FCC): Equipment Authorization.
Safety and Legal Basics Before the First Flight
For U.S. guidance, review the FAA’s drone safety hub: FAA: Fly Drones Safely. Recreational flyers can also look up the TRUST test information here: FAA: The Recreational UAS Safety Test (TRUST).
Getting Smoother Footage: Simple Techniques That Work
What’s Included and What to Prepare
Featured Products (In Stock)
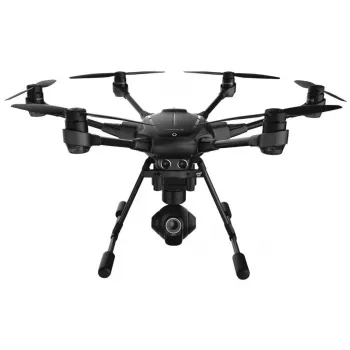
- Professional 4K Ultra HD Camera Drone Quadcopter with 360° Gimbal, 20 Min Flight Time
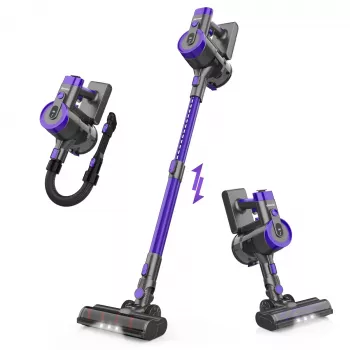
- Cordless Vacuum Cleaner, 235W Brushless Motor, 40Min Runtime, 6-in-1 Lightweight for Household Cleaning
- 20Kpa Cordless Stick Vacuum Cleaner for Hard Floor, Carpet & Pet Hair, Rose Red
Product Snapshot
FAQ
Does a 20-minute flight time mean 20 minutes of usable filming?
Not usually. Real-world flight time is often shorter due to wind, temperature, and how aggressively you fly, so it’s smarter to plan shot blocks and land with a safety buffer.
What does a 360° gimbal help with during filming?
It helps keep footage smooth while allowing more flexible framing, so you can adjust the camera’s direction without needing to rotate the entire drone as much.
Is 4K always better for drone footage?
4K can capture more detail and gives more room to crop or stabilize in editing, but lighting, stability, and controlled movement often have a bigger impact on how “good” the footage looks.
Recommended for you
Was this article helpful?
Yes
No


Leave a comment