DIY 3D Printing Press Wooden Puzzle Kit + LED Glow
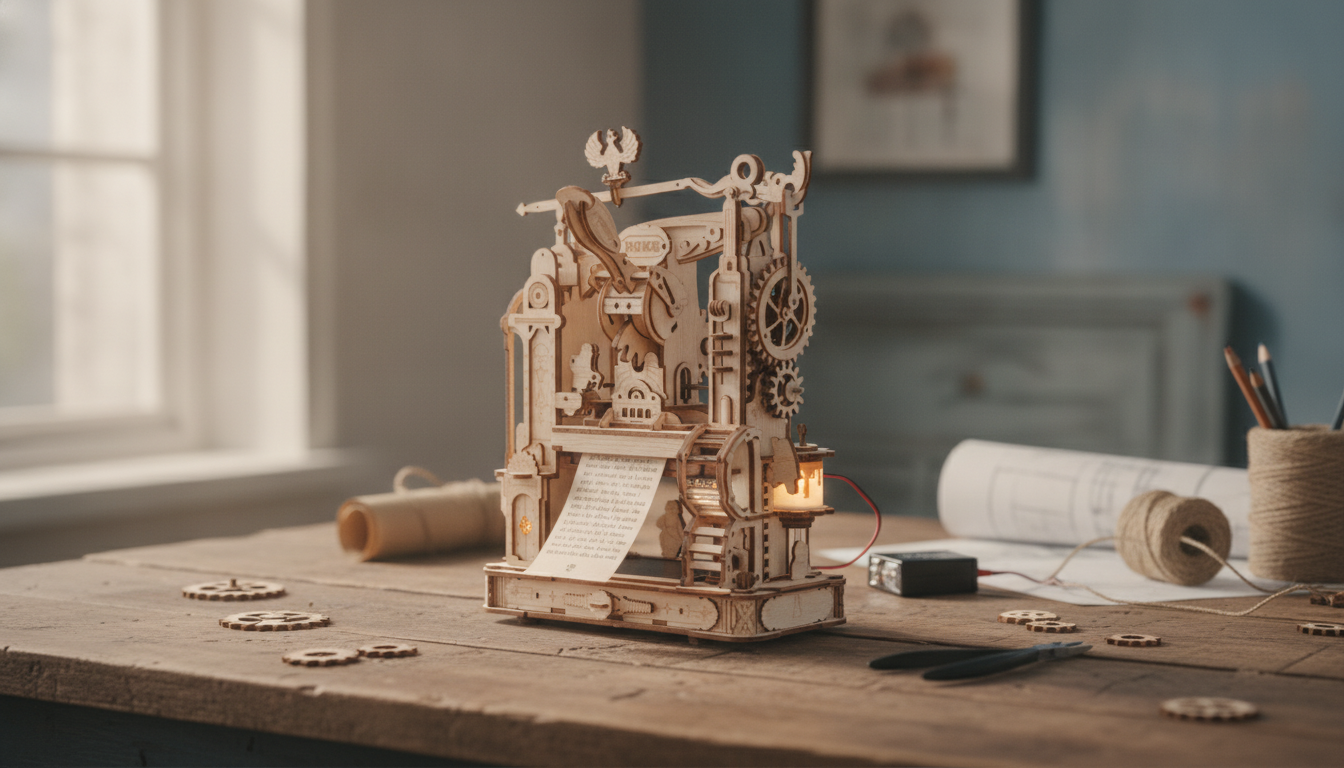
3D Printing Press DIY Wooden Puzzle with LED Lights: Build, Display, and Learn
A wooden mechanical build that lights up can be both a hands-on craft project and a striking desk display. The 3D Printing Press DIY Wooden Puzzle with LED Lights blends the satisfaction of assembling a detailed mechanism with the payoff of a warm, illuminated finish. Below is a practical guide to what the model represents, what assembly is typically like, how LED lighting usually integrates into the build, and how to keep the final piece running smoothly over time.
What This Build Represents
This kit is designed as a mechanical-style wooden model inspired by a printing/press mechanism. Rather than a flat jigsaw, it’s a layered, miniature machine look—frames, linkages, and moving parts that feel like a workshop artifact in pocket size.
- Mechanical inspiration: A press/printing-style structure assembled from pre-cut wooden pieces.
- Display-ready finish: LED lighting adds depth and highlights the machine-like contours on shelves, desks, or maker spaces.
- Process-focused fun: Best enjoyed by builders who like step-by-step assembly and functional-looking mechanisms.
- Giftable outcome: The completed model often reads as a miniature machine, not “just a puzzle.”
Who It’s Best For
Because the build typically includes small tabs, tight joints, and alignment-sensitive moving parts, it’s most rewarding for patient, detail-oriented hands.
- Makers who enjoy intricate builds with gears, levers, and layered assemblies
- Gift buyers looking for a build-and-display project with a “wow” factor once lit
- Teens and adults who can follow diagrams carefully and handle small parts
- Collectors of mechanical model kits who want a modern-industrial theme
What’s Typically Included and What You May Need
Kit contents can vary by version, but most wooden mechanical LED builds follow a familiar pattern: laser-cut sheets, mechanical elements, and a simple lighting set that’s integrated near the end.
- Common components: Laser-cut wooden sheets, small mechanical elements, LED components, and an instruction booklet.
- Helpful tools: Tweezers (for tiny tabs), fine sandpaper/emery board (for tight joints), and a small screwdriver if the lighting module requires it.
- Workspace tips: Build on a tray or mat so small pieces don’t disappear; keep parts grouped by sheet and by step.
- Power considerations: Confirm whether the lighting uses batteries or USB power (this varies by kit version).
Wood can subtly expand and contract with humidity, which is one reason “tight today” can become “tighter later.” For a quick overview of why that happens, the USDA has a helpful explanation of wood movement (shrinkage and swelling).
Assembly Experience: What to Expect Step by Step
Most builders get the smoothest results by treating assembly like a sequence of test fits, subassemblies, and gentle final seating—especially on thin tabs and decorative overlays.
1) Dry-fit first
Before pressing joints all the way in, test-fit the pieces. If something feels overly tight, sanding the tab lightly is safer than forcing it and cracking a thin section.
2) Work in subassemblies
When the manual allows, build in chunks: frame, press mechanism, and decorative panels. Subassemblies keep you from wrestling a half-finished structure while trying to align a small axle.
3) Take extra care with moving parts
Align gears and axles precisely. Even a minor misalignment can cause binding, skipping, or uneven motion. If motion doesn’t feel smooth, back up a step and re-seat the axle depth before locking anything in.
4) Integrate lighting before closing panels
If your version uses wiring, route it before sealing up the model. Pinched wires or cramped bends can lead to flickering or intermittent contact later.
5) Finish checks
Cycle the mechanism gently before final locking pieces go in, then test LED function. It’s much easier to fix alignment or a loose connector before everything is closed and snug.
Lighting: Placement, Power, and Best Display Results
LEDs are efficient and bright, which makes them perfect for small display models—especially when the light is aimed at cutouts or layered details. If you want a quick refresher on how LEDs work and why they run cool compared to older bulbs, see the U.S. Department of Energy’s overview of LED basics.
Care, Maintenance, and Troubleshooting
For classrooms, clubs, or curious builders, the mechanism theme pairs nicely with a quick look at simple machines and mechanical advantage, since many model motions are built from basic linkages and leverage principles.
Quick Comparison: Similar Items and When to Choose Them
At-a-Glance Options From the Shop
| Item | Best for | Price |
|---|---|---|
| 3D Printing Press DIY Wooden Puzzle with LED Lights | Hands-on building + illuminated desk display | $107.80 |
| 20Kpa Cordless Stick Vacuum Cleaner for Hard Floor, Carpet & Pet Hair, Rose Red | Fast cleanup for floors, carpets, and pet hair | $162.65 |
| Luxe Hacks for Small Closets Checklist | Quick closet declutter plan and storage ideas | $4.99 |
Gift Ideas and Display Pairings
FAQ
How long does it take to assemble a wooden mechanical puzzle with LED lights?
Many builders finish in a few hours, while more intricate builds can take an afternoon or a couple of evenings. Organizing parts first, taking short breaks, and doing a gentle test-run of the mechanism before final locking steps can help prevent time-consuming rework.
Do the LED lights require batteries or USB power?
Power methods vary by kit version—some use batteries, while others use USB. Check the product details before starting so you have the correct battery type or an available USB power source on hand.
Is wood glue required for this type of DIY wooden puzzle?
Many kits are designed to be friction-fit, so glue is usually optional rather than required. If you want extra stability, add a small amount only to non-moving joints and keep glue away from gears, axles, and sliding interfaces.










Leave a comment