-
Shop
- Advanced Technologies
- AI Skills for Creators & Freelancers
- AI Client Management
- AI Ethics
- AI Mindset
- AI Tools & Prompts
- AI Writing & Content Creation
- Audio, Voice & Music
- Design & Visual Creation
- Email, Messaging & Communication
- Freelancing & Business
- Marketing, Ads & Conversion
- Productivity, Workflow & Automation
- SEO & Search Optimization
- Social Media Content & Growth
- Strategy, Planning & Analytics
- Video Creation & Editing
- AI Skills Mastery 2026 Collection
- Bathroom
- Best Sellers
- Car Accessories
- Dating & Social Skills
- Digital Resources
- Dresses
- Education & Learning
- Family & Parenting
- Fashion
- Fashion & Style
- Fitness
- Furniture
- Gadgets
- Health & Beauty
- Health & Wellness
- Home & Garden
- Home & Kitchen
- Home Electronics
- Kids & Babies
- Kitchen
- Lighting
- Parenting
- Patio, Lawn & Garden
- Personal Growth
- Pet Care
- Pet Lifestyle & Wellness
- Pet Supplies
- Pets
- Sport & Outdoors
- Swimwear
- Tops
- Travel
- Wealth
Foam Rolling for Recovery: Safer Sessions, Less Soreness
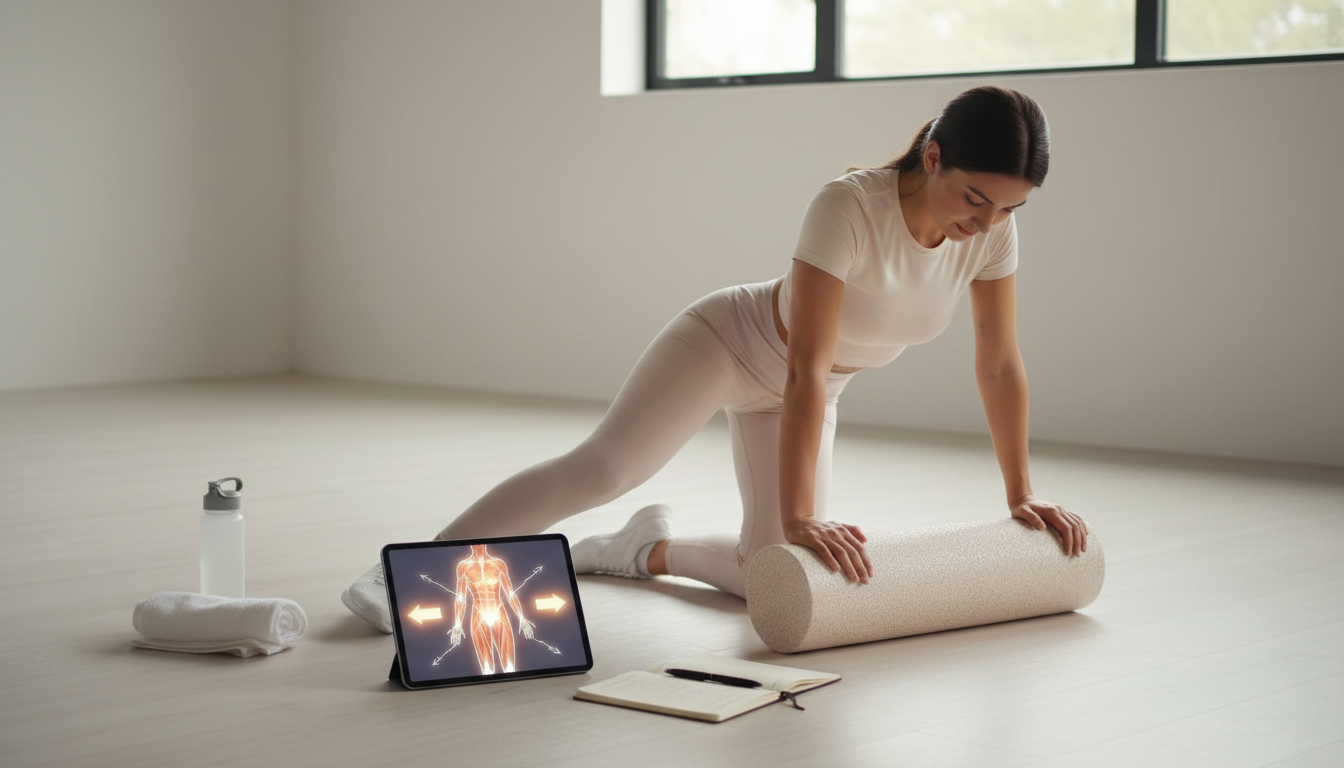
Foam Roller for Muscle Recovery: Faster Healing with Smarter, Safer Sessions
Foam rolling is a practical recovery tool that can make sore muscles feel more manageable, help you move more comfortably in the short term, and keep your recovery routine consistent even when training gets busy. Used well, it’s less about “breaking up knots” and more about improving your body’s tolerance to pressure, temporarily changing muscle tone, and encouraging better movement quality. Below are clear techniques for major muscle groups, timing guidelines, and a simple AI-informed way to adjust your rolling plan to match soreness and training load.
What Foam Rolling Does (and What It Doesn’t)
For many people, foam rolling supports recovery by reducing perceived muscle soreness and improving short-term range of motion. The most reliable benefits tend to be “feel and move better today” rather than permanent tissue changes.
- What it helps: comfort, temporary mobility, and downshifting tension after training.
- How it works (practically): nervous system effects (higher tolerance to pressure), improved tissue glide/hydration, and temporary changes in muscle tone.
- What matters most: consistency and repeatability—moderate, regular sessions beat occasional “go hard” sessions.
- What it is not: a replacement for medical care. Sudden swelling, unexplained bruising, numbness/tingling, or severe pain should be evaluated.
For deeper reading on self-myofascial release and safety considerations, see guidance from ACSM and general massage-related safety notes from NCCIH.
When to Roll: Pre-Workout, Post-Workout, and Rest Days
Timing changes the “job” of foam rolling. Before training, it’s a brief prep to move better. After training, it’s a downshift. On rest days, it’s gentle maintenance.
- Pre-workout (3–6 minutes total): quick passes on tight areas to improve comfort; pair with dynamic warm-ups.
- Post-workout (6–12 minutes total): moderate pressure to reduce tension and restore normal movement after lifting or running.
- Rest days (8–15 minutes total): slower rolling with calm breathing to reduce stiffness from sitting and improve circulation.
- Avoid: aggressive rolling on fresh strains, hot/swollen areas, or painful joints.
| Goal | When | Duration | Pressure | Best add-on |
|---|---|---|---|---|
| Move better | Before training | 3–6 min | Light–moderate | Dynamic mobility |
| Feel less sore | After training | 6–12 min | Moderate | Easy walk/cycle |
| Loosen stiffness | Rest day/evening | 8–15 min | Light–moderate | Breathing + stretching |
| Spot work | Any time | 30–90 sec/area | Moderate | Gentle active range |
Technique Fundamentals: Pressure, Speed, and Breathing
Better results usually come from calmer technique, not higher pain.
- Speed: use slow passes—about 2–4 seconds per inch—so your body can relax into the pressure.
- Pressure target: keep it at a tolerable 5–7/10. If you’re grimacing, holding your breath, or tensing up, it’s too much.
- Pauses: stop 20–30 seconds on tender spots, then add small movements (bend/straighten the nearby joint) to “scan” what changes.
- Breathing: exhale through discomfort. Relaxed breathing reduces bracing and improves tolerance.
- Do not roll directly over: bones, joints, the lumbar spine (low back), the front of the neck, or behind the knee.
Step-by-Step Routines for Major Muscle Groups
Pick 3–5 areas per session, especially after intense workouts. More time isn’t automatically better; aim for smooth, controlled passes and finish feeling looser—not beat up.
Calves (45–60 seconds each)
- Start just above the Achilles area and roll toward the knee.
- Rotate the leg slightly in and out to hit both sides of the calf.
- To adjust pressure, place the other foot on the floor (less) or stack legs (more).
Quads and hip flexor area (60–90 seconds each)
- Roll from mid-thigh toward upper thigh.
- Shift slightly inside/outside to cover more tissue.
- Avoid pressure directly on the kneecap and the front of the hip bone.
Hamstrings (60 seconds each)
- Roll from the glute crease to just above the knee.
- Keep core braced, shoulders relaxed, and avoid “locking” the neck.
- If it’s too intense, use both hands more to unload bodyweight.
Glutes/piriformis area (45–75 seconds each)
- Sit on the roller, cross one ankle over the opposite knee.
- Lean toward the crossed side to target the deeper glute region.
- Small rocking motions work well here—slow and controlled.
Upper back (thoracic) (60–90 seconds)
- Support your head with your hands and keep ribs down.
- Roll from mid-back toward upper back; pause on tender spots.
- Avoid the neck and don’t crank your head back.
Lats/side body (45–60 seconds each)
AI-Informed Recovery Plans: Simple Rules That Adapt to Training Load
Common Mistakes That Slow Recovery
Practical Setup: Choosing a Roller Style and Building a Habit
Recovery-Friendly Picks (In Stock)
- Foam Roller for Muscle Recovery – Complete Guide to Foam Roller for Recovery, Techniques, AI Plans & Proven Strategies for Faster Healing
- Luxe Hacks for Small Closets Checklist | Digital Download Closet Organization Guide, Minimalist Wardrobe Decluttering Tips, Small Space Storage Solutions (use it to set up a tidy “recovery corner” so your roller and bands are always within reach)
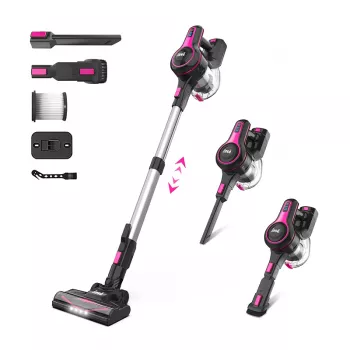
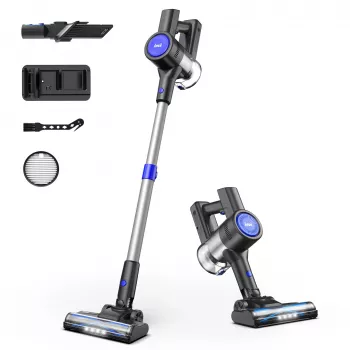
- Cordless Vacuum Cleaner, 235W Brushless Motor, 40Min Runtime, 6-in-1 Lightweight for Household Cleaning (keep floors clear so mobility and recovery work is easier to do consistently)
FAQ
How long should foam rolling take for recovery?
Most recovery sessions work well at 6–12 minutes total, using about 30–90 seconds per major area. Increase time gradually and keep pressure tolerable so you finish feeling better, not more tender.
Is it okay to foam roll every day?
Light rolling can be done daily if it doesn’t increase soreness. Moderate or deep pressure is better limited to a few times per week per area, especially after hard training.
Should foam rolling hurt to work?
It should feel like tolerable discomfort (around 5–7/10), not sharp pain, numbness, or burning. If symptoms worsen during or after, reduce pressure, shorten the session, or stop.
Recommended for you
Was this article helpful?
Yes
No


Leave a comment